
Adjustable overhead lighting is a terrific upgrade that adds attractiveness to any home, and the dimmer switch of one option well for creating a specific ambiance in a room and for energy conservation. In case your wondering about the dimmer’s meaning, this type of switch turns the light on and off but also allows you to adjust the brightness.
Luckily, installing a dimmer switch is as straightforward as installing a single-pole switch. We have broken down the steps to ensure a safe and successful installation. Once the switch has turned on, you can use a dimmer to select the ideal light level for the space.
First, choose a compatible dimmer for your fixture, wiring, light bulbs, and room aesthetic. Check the dimmer’s box or description before buying to ensure it works with all aspects. Ensure the light bulbs are compatible, including LED or fluorescent ones, as not all types work with dimmer switches. Also, keep an eye out for the number of switches, total wattage, the presence of ceiling fans, and neutral wiring since dimmers may not be compatible with all light fixtures or fans.

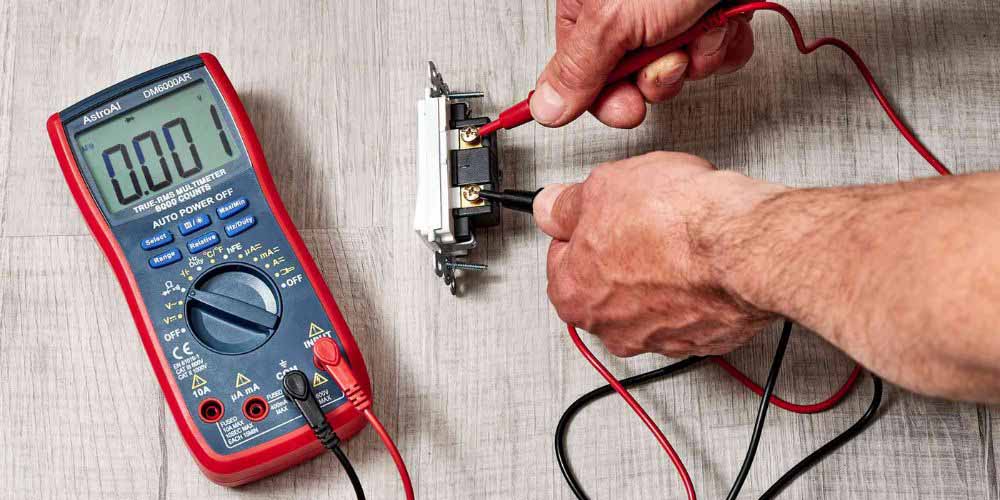
This next step is imperative, as the number one DIY dimmer switch wiring involves the electrical current in your work area. To turn off the electricity in the area where your light is installed, open your circuit breaker box. By toggling the switch on and off or using a voltage tester, ensure that the power completes the turnoff. Once done, you can proceed to remove your old button and disconnect its wires from those in the wall. If you notice a bundle of white wires emerging from the wall, leave them intact.
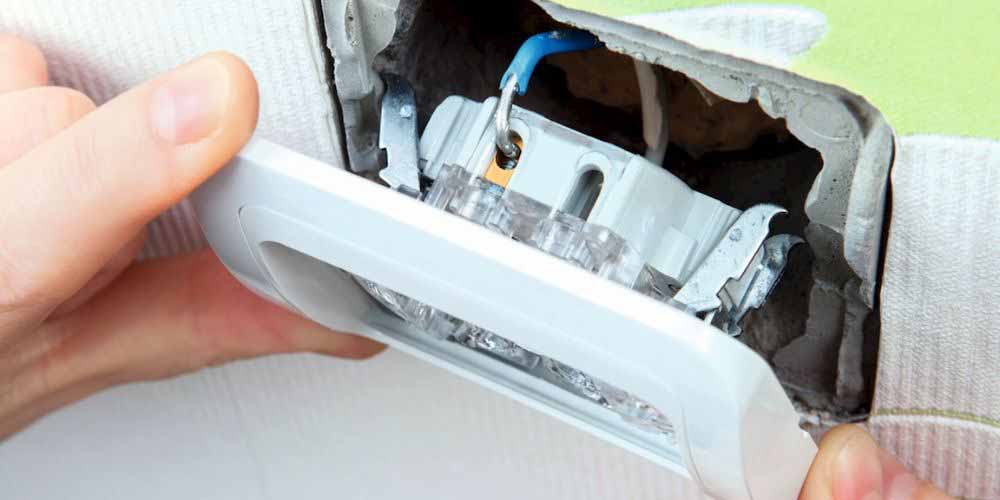
Many modern dimmer switches have a green grounding screw or wire. You must use a neon voltage tester to test the ground before attaching it. It is crucial to ensure proper grounding when replacing a three-way switch. Look for a screw that is labeled “common” or is a different color than the others, and mark it with electrical tape for easy identification when wiring the new switch.
Read the instructions before installing the dimmer to make sure you understand which wires go where, which are on top, and which are at the bottom. Green always designates the copper wire or ground. Unlike installing a light fixture, installing a dimmer requires placing two black wires on each of the gold screws.
Also, look at the wiring schematic to see if the switch has an extra screw and whether it can be used as a single-pole or three-way switch.
After the wires are connected, replace the switch’s two top and bottom screws on the electrical box before replacing the switch plate.
Next, check if the dimmer switch is operational after restoring electricity. If it isn’t, turn off the power once and follow your original instructions to see which part may have gone wrong. Sometimes, you might have to tighten the dimmer switch wires attached to the house wires. You might also have to check that you fastened the wire nut correctly. If there is excess wiring, trim the ends and refasten the nut. If unsure, leave the power off and call your electrician.
If you have followed the instructions above and your light dimmer installation is still not functioning correctly, consider calling an electrician. This issue may indicate a problem with your electrical system or require slight wiring adjustments. Once the installation is complete, you will see the positive difference a dimmer switch can make.